
Minecraft Pixel Art Generator: Get From Photo to Blocks in 5 Minutes
A practical walkthrough for converting any image into Minecraft blocks. Covers the process, export options, and common mistakes to avoid.
So I wasted four hours last week. Built my friend's face in Minecraft by hand, block by block. Looked like a potato with eyes when I finished. Not even a handsome potato.
The mistake? I kept switching between Orange Wool and Orange Terracotta, staring at both, thinking "yeah one of these has gotta be right." Neither was right. My brain just cannot translate hex codes into wool colors at 2am apparently.
Anyway I found this generator thing after all that suffering. Wish I had known earlier.
How These Work
Dead simple actually. Upload picture, get back a grid showing exactly which block goes where. Algorithm already figured out all the color matching garbage that I could not.
Export options vary but most tools give you:
- Grid image (for building by hand)
- CSV spreadsheet (if you are that kind of person)
- Schematic for WorldEdit or Litematica
I just use schematics now. Paste command, done, five seconds. Cannot go back to counting blocks.
Using It (the actual steps)
First thing: crop your image. I know this sounds obvious but people skip it all the time. Your selfie background has a bookshelf in it? That bookshelf is now wasting 500 blocks of wool. Crop tight.
Drag the cropped image into the tool. Preview shows up immediately.
Size Settings
Everyone screws this up first time. You set width to 50 blocks thinking "yeah that should be enough for a face." Nope. 50 blocks wide means the face itself is like 20 pixels. Twenty pixels. You cannot draw a nose in 3 pixels man.
Quick reference:
| Width | Use case | My opinion |
|---|---|---|
| 32 blocks | Simple icons only | Works fine |
| 64 blocks | Logos, game sprites | Starting to take awhile |
| 128 blocks | Portraits | This is where it gets good |
| 256+ | Full photos | Use schematic, skip manual |
Playing Survival? Stay under 100 wide unless you really love sheep farming.
Block Palette
Default setting uses everything including the annoying blocks:
- Glazed Terracotta has weird patterns
- Raw Iron needs tons of mining
- Some dyed blocks are a pain to craft
Switch to "Wool Only" when building Survival. Sheep are easy. Switch to "Concrete Only" when you want brighter colors but can gather sand and gravel.
What is Dithering
You know those old photos that look like they have TV static in them? Same concept.
Dithering mixes two colors in a checkerboard to fake a third color that does not exist in Minecraft. Looks smooth from far away. Looks noisy up close.
Photography = dithering on. Logos = dithering off. Pretty simple rule.
Getting the File Out
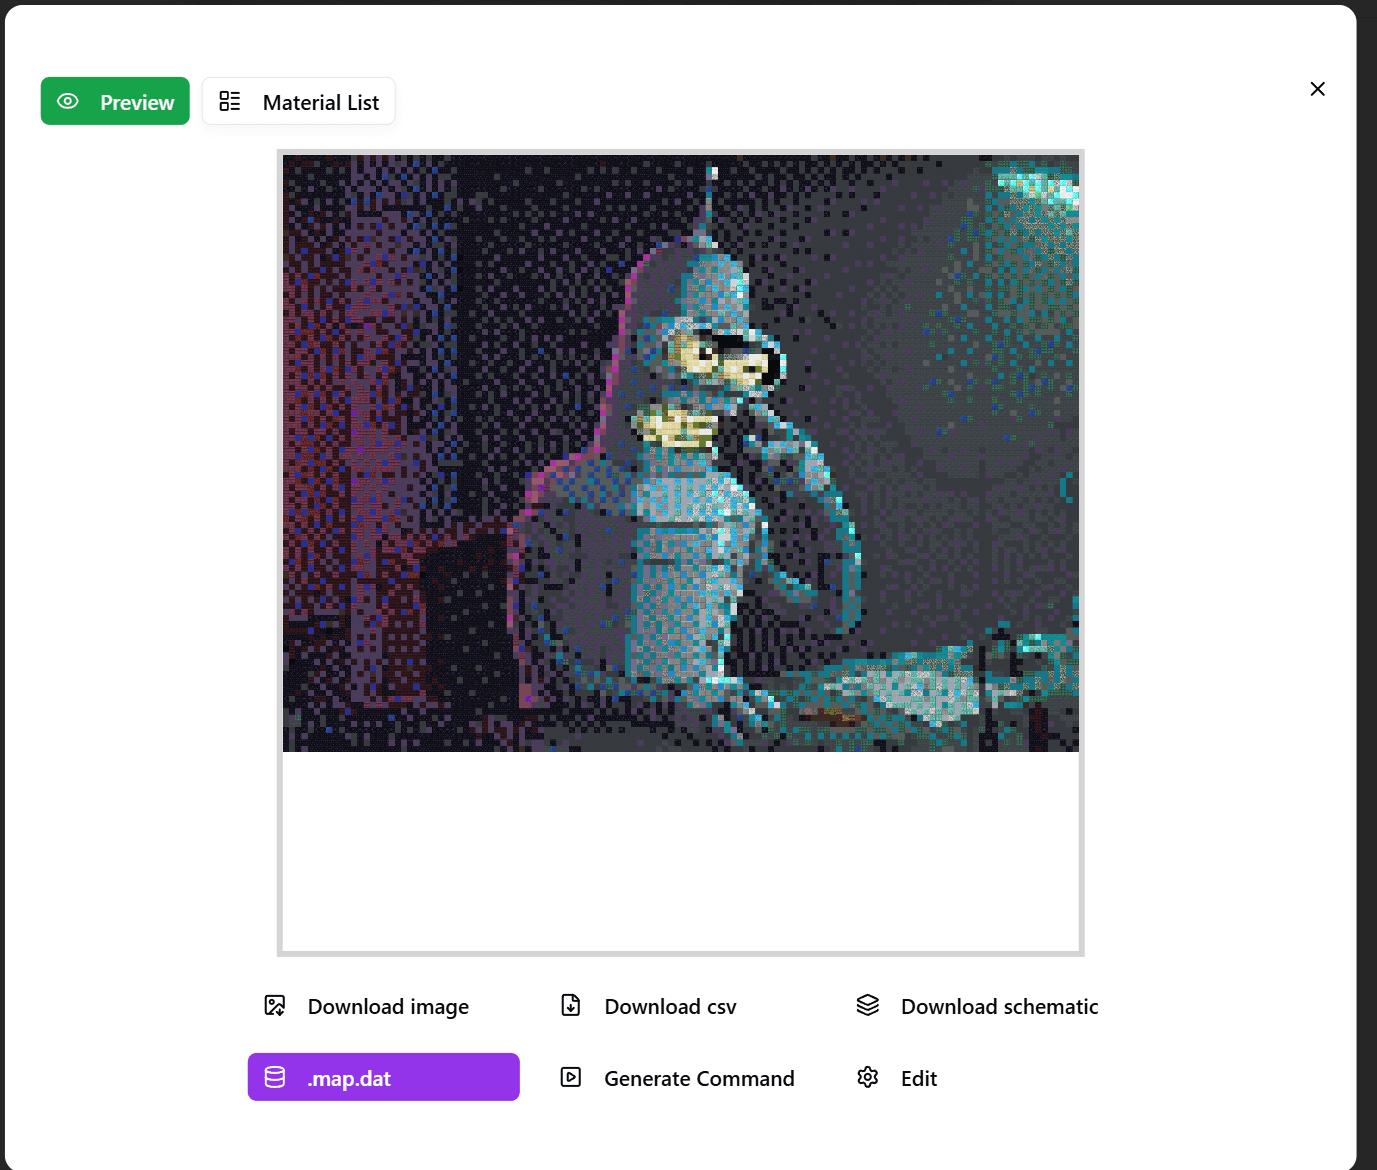
Three download buttons. Pick based on how you are building:
- PNG = manual block by block building
- CSV = if you want coordinates in a spreadsheet format
- Schematic = WorldEdit paste
If you have mods just grab the schematic. Trust me.
What Works, What Does Not
Things that convert well: Cartoon characters. Logos. Anything with thick outlines and solid colors. Pixel art from other games (already low res).
Things that look bad: Sunset photos. Nature shots with million shades of green. Soft focus portraits. Anything gradient-heavy turns into noise.
Faces are possible but tricky. Need 128+ width and dithering enabled. Still might look off because Minecraft blocks do not replicate skin tones well.
Common Questions
Blurry result? Too small. Make it bigger.
Bedrock? Schematic files are Java only. You can still use the grid image though.
How many blocks do I need? Check material list in the tool. Plan your farms before starting.
Missing blocks? Version mismatch probably. Set generator to match your game version.
Whole thing takes maybe 10 minutes to set up. Beats spending 4 hours building a potato face.
Try it: minecraftart.net
Author

Categories
More Posts
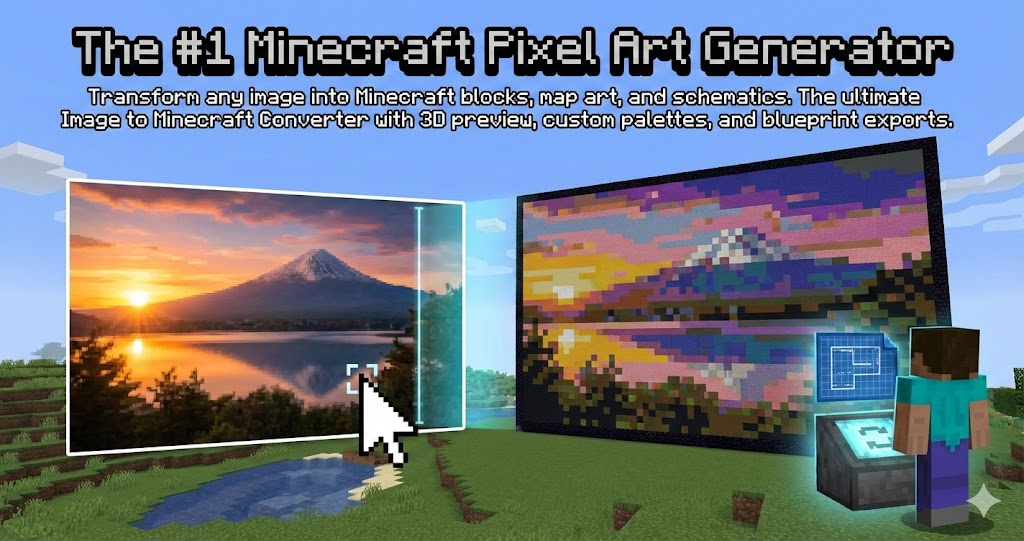
10 Minecraft Mural Ideas to Fix Your Boring Walls (2025)
Running out of decoration ideas? Here are 10 pixel art and map art mural ideas you can build in your survival world right now.
Ultimate Guide to Minecraft Map Art: Generators, Schematics & Tools
Master Minecraft Map Art in 2025. Learn how to use generators to convert images to maps, import schematics with Litematica, and build survival-friendly art.
Minecraft Schematic Complete Guide: Create, Import & Use
Everything about Minecraft .schematic files. Learn how to create, import, and use schematic files with WorldEdit, Litematica, and other tools.